How to do Distressed Faux Locs with Crochet Locs 25th December 2019 – Posted in: Crochet Faux Locs, Faux Locs
How to do Distressed Faux Locs with Crochet Locs
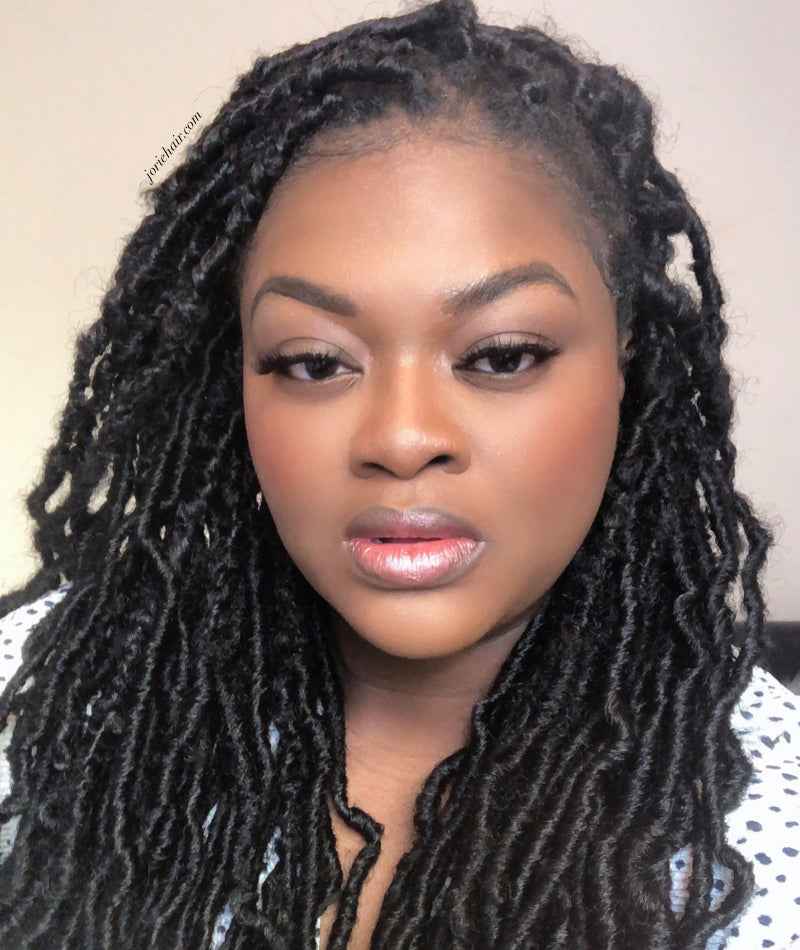
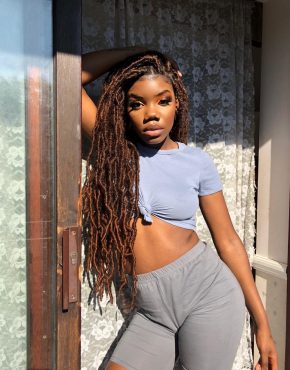
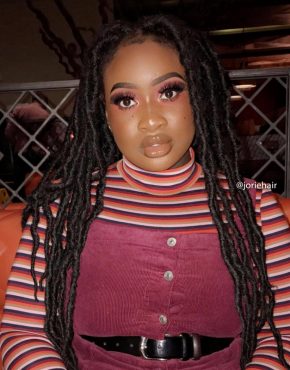
In this tutorial, I break down how to do distressed faux locs using crochet locs. I only create a distressed textured base but you can also choose to do this to the whole loc. This is a trending instagram faux loc style, which is normally done over soft locs that are normally extended.
But in this case the crochet locs I am using are already super long (around 24″), so you don’t need extended locs.
This hairstyle is tension free and perfect for those who have a tender head or want free-flowing non stiff locs. I did create a video tutorial for this look but there is so much more to say so I broke it down in here.
Tools Required
- Crochet Latch Hook
- Edge Control or Gel (to lay your edges, optional)
- Scissors
- Tail Comb or any comb to section your hair
How much hair do I need for Distressed Faux Locs?
If you are doing this particular look and choose to do all individuals. Then you will need 3 packs of our kinky crochet faux locs 23″ – 24“. Or alternatively you can use crochet faux locs you have on hand, but I am unable to advise you on the amount required with other hair. As different brands require different amounts of hair.
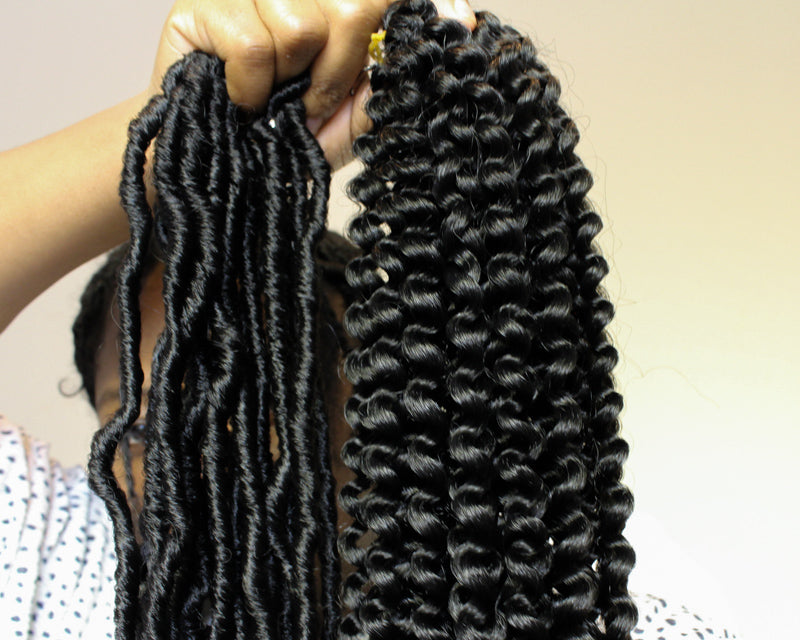
If you are only planning to wrap the base then I will advise for 2 packs of the Textured Passion Twist/ Faux Locs Water Wave hair. I used 1 pack and a few extra strands to wrap the base of my locs. Each pack of hair has 25 strands, which I split into 3, to wrap the crochet locs.
Prepping the Hair
I set aside my distressed faux loc crochet hair as it makes it so much easier when the hair is ready for your install. You are going to get a strand of the faux locs/ passion twist water wave hair and split it into 3. I use 1 of the strands that I split, to wrap each faux loc.
I tested different amounts of this hair to wrap my locs and I got my ideal look by splitting the hair into 3. This gave a more seamless transition from the distressed part of the loc to the parts that I did not add the extra texture to. I also stretched out each strand even more as this will be helpful when sealing the hair (later on).
If you choose to add the texture to the whole loc you will likely need a different amount of the wrapping hair.
If you are a pro at wrapping your loc you can skip the next step. But if you are a beginner or want your loc to lay seamlessly you can use this little trick. I get my latch hook and put it through the loop of my crochet loc and pull the wrapping hair through. I demonstrated this step in the video tutorial.
Foundation for Distressed Faux Loc Base
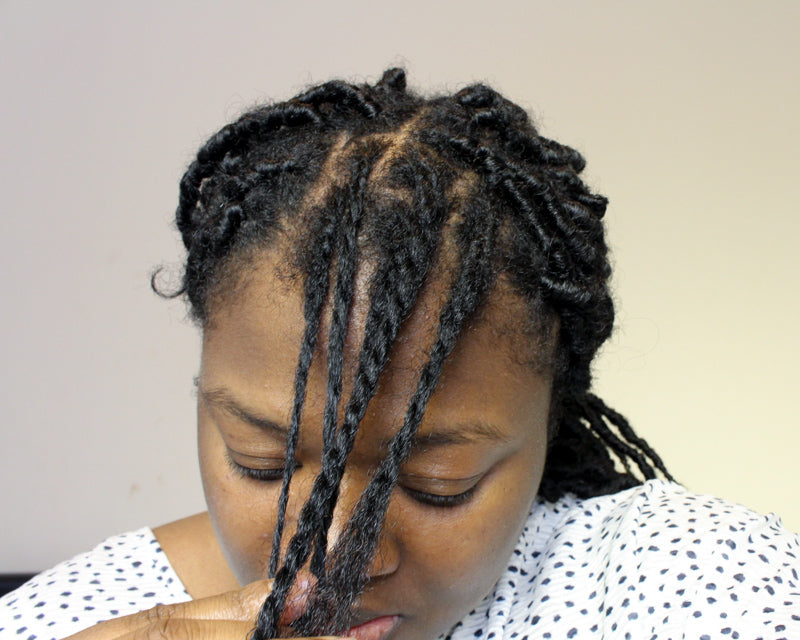
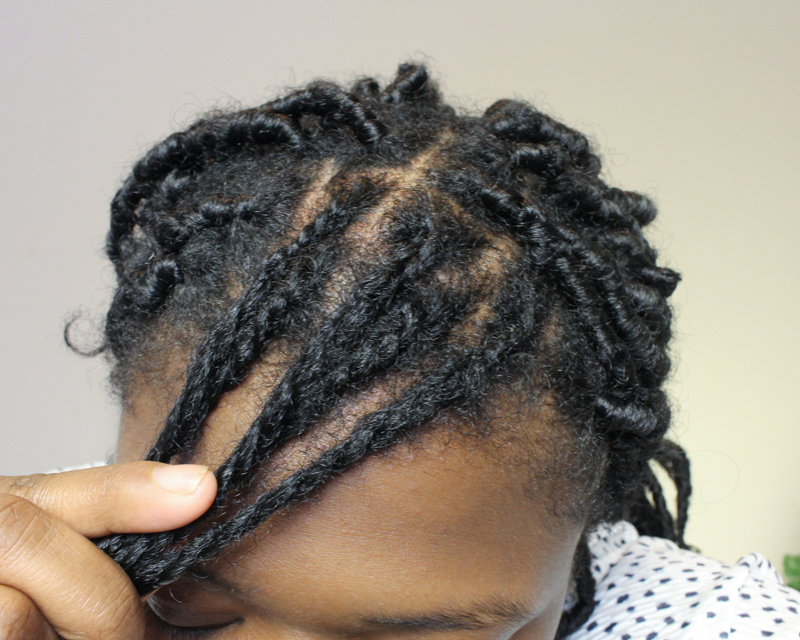
Normally people do individual braids for the foundation. But I tried something different for this install. When I sectioned my hair using my tail comb, I braided just a little bit at the base and then twisted the rest.
This will allow your install to be quicker as you don’t need to braid your own hair all the way to the ends. It also makes taking down your install faster as-well as it’s easier to take out the braid with twists at its end versus a full braid.
Attaching the Loc to your Hair
You are going to need your latch hook for this. Simply put your latch hook through the base of your braid. Then use it to attach the faux loc that you prepped earlier on with the wrapping hair attached.
Pull through your braid and leave about a finger width length on the side of the crochet faux loc. Rather than just crocheting the loc to your braid and wrapping. By doing this method your roots will not be bulky and look very natural once wrapped.
Wrapping the Individual Crochet Faux Loc
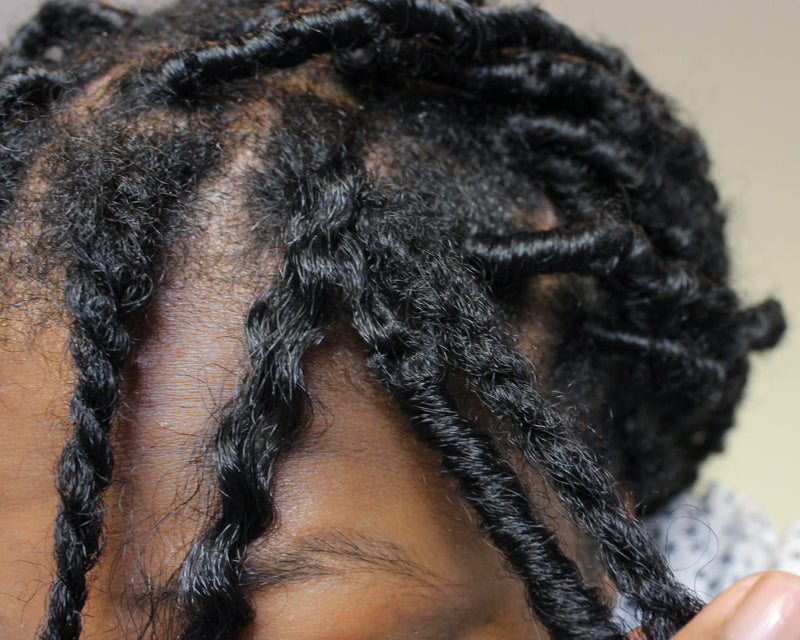
To wrap the hair, you need to wrap it 2 to 3 times at the roots to secure your loc then start moving further down. When wrapping don’t overlap the hair, as you need to have some hair peeking through here and there. Then every 3 or 4 rounds of wrapping shift the hair up.
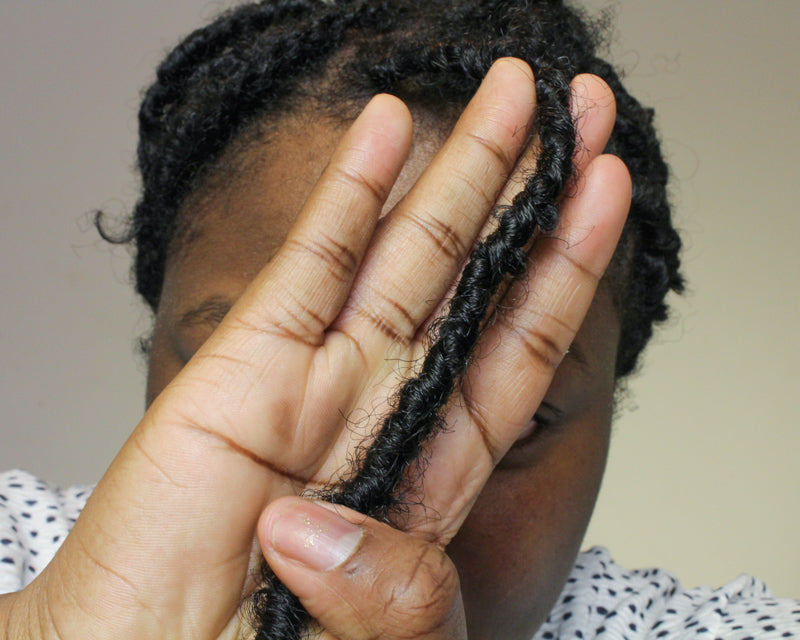
For this style I only wrapped the hair to where my own hair ends. But you can wrap till the end if you want a different look. Once I get to where my hair ends, I wrap for an extra inch and then I start to wrap upwards until I am almost out of wrapping hair.
Once I only have a little hair left I seal the hair by tying it. If you want the hair to be easier to uninstall do not wrap upwards. Just seal the hair when you get to around an inch below where your hair ends.
Shop the Look





3 Comments
Meesh June 26, 2021 - 00:01
Great tutorial
Kesi October 26, 2020 - 18:57
I’ve been doing my own locs for over 3 years and I see that it is an ongoing learning process. Your video was a breathe of fresh air. Thank you.
Jorie Hair October 28, 2020 - 00:54 – In reply to: Kesi
Thank you very much! – Jorie